How to Install Rainmeter Skins in Under 2 Minutes
Installing a Rainmeter skin is easier than you think. This step-by-step guide walks you through .rmskin packages, loading, and positioning.
By The AuroraDeck Team
First, make sure Rainmeter itself is installed. Download it from the official site, run the installer and accept the defaults. Rainmeter will launch a set of welcome skins so you know it's working.
Every AuroraDeck skin ships as a single .rmskin file. This is a self-contained installer package. Just double-click it and Rainmeter's Skin Installer window appears, showing you exactly what will be added. Click Install.
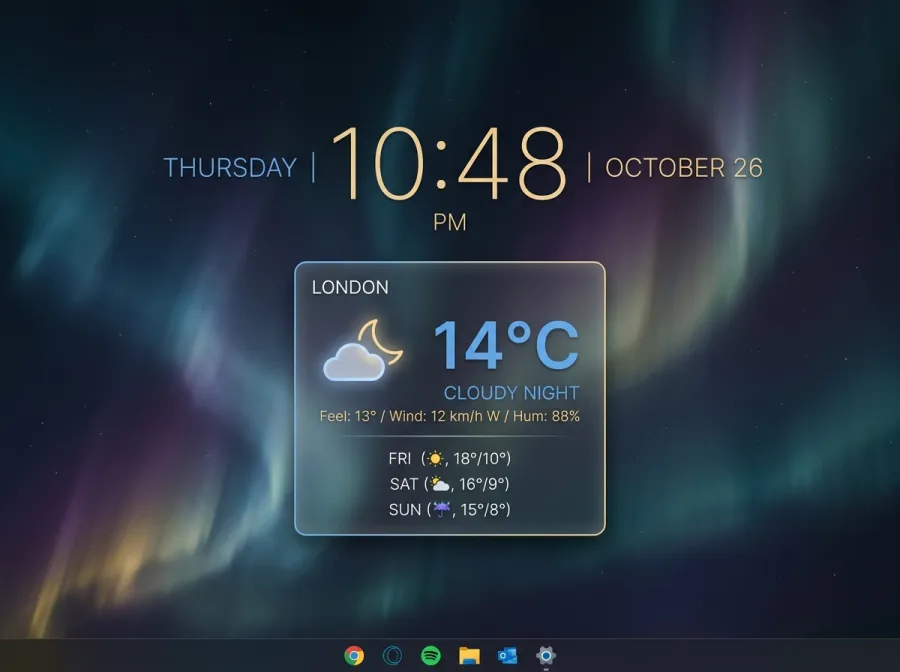
Once installed, open the Rainmeter Manage window, expand your new skin in the list, select a layout .ini and click Load. The skin appears on your desktop instantly. Drag it anywhere you like — hold it in place by right-clicking and choosing 'Settings → Draggable'.
That's it. To remove a skin, simply Unload it from the Manage window. Nothing touches your system files, and uninstalling is just as clean. Rainmeter customization is fully non-destructive.
Keep reading
What Is Rainmeter? A Beginner's Guide to Windows Desktop Customization
Rainmeter is a free, open-source tool that lets you build a living, information-rich desktop on Windows. Here's how it works and why millions love it.
RoundupsThe 10 Best Rainmeter Skins to Try in 2026
From glassmorphism system monitors to neon audio visualizers, these are the Rainmeter skins defining desktop customization this year.